
The 4 things you can safely do yourself
1. Lubricate hinges, rollers, and the spring
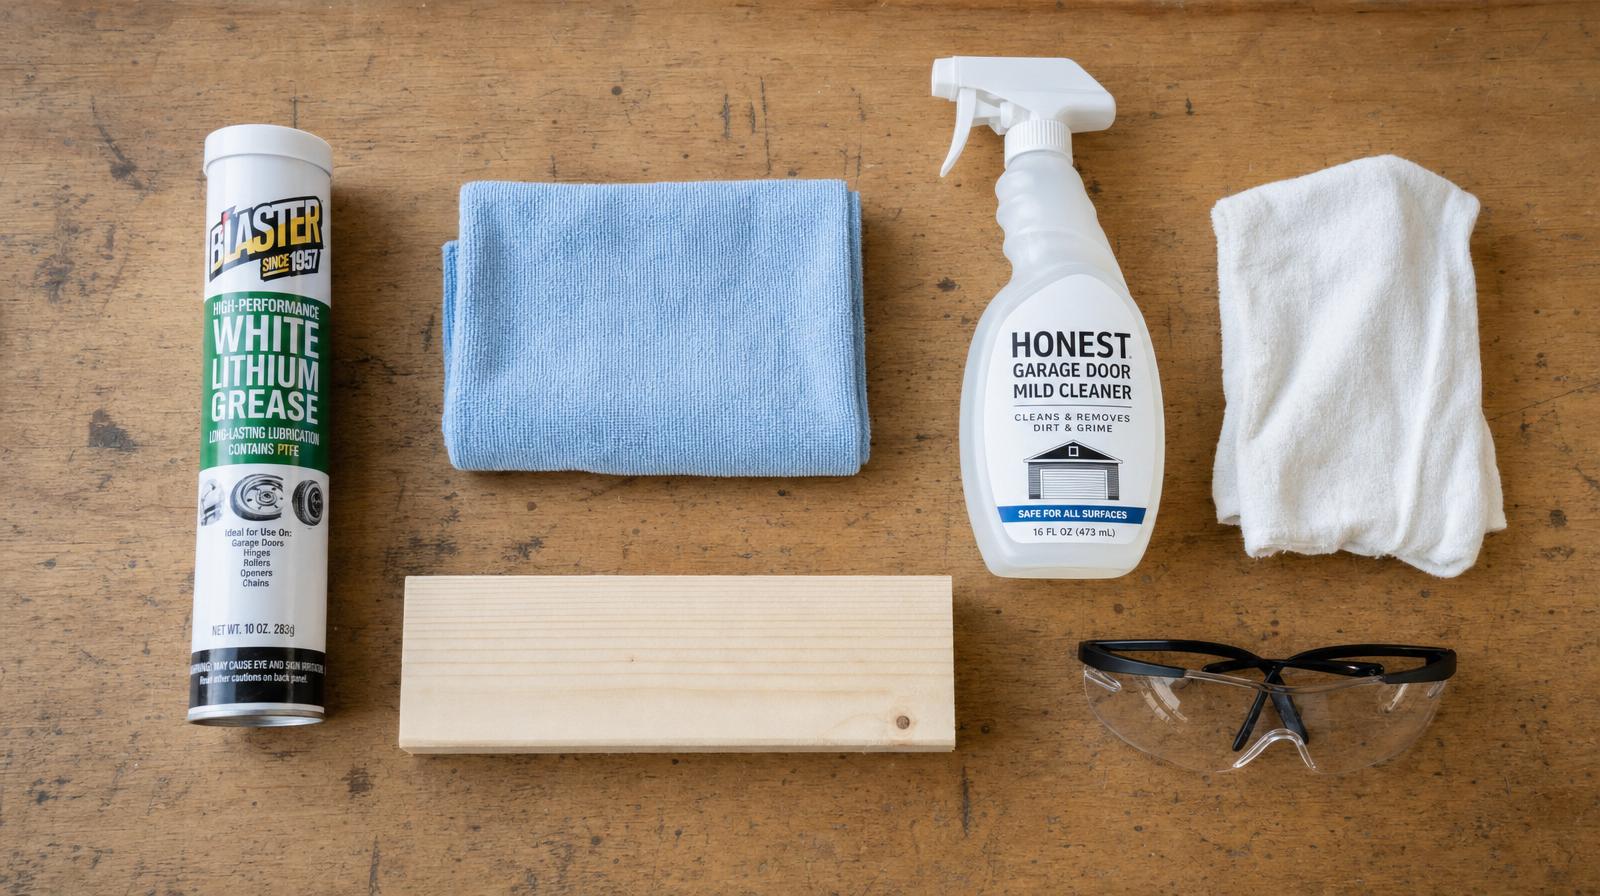
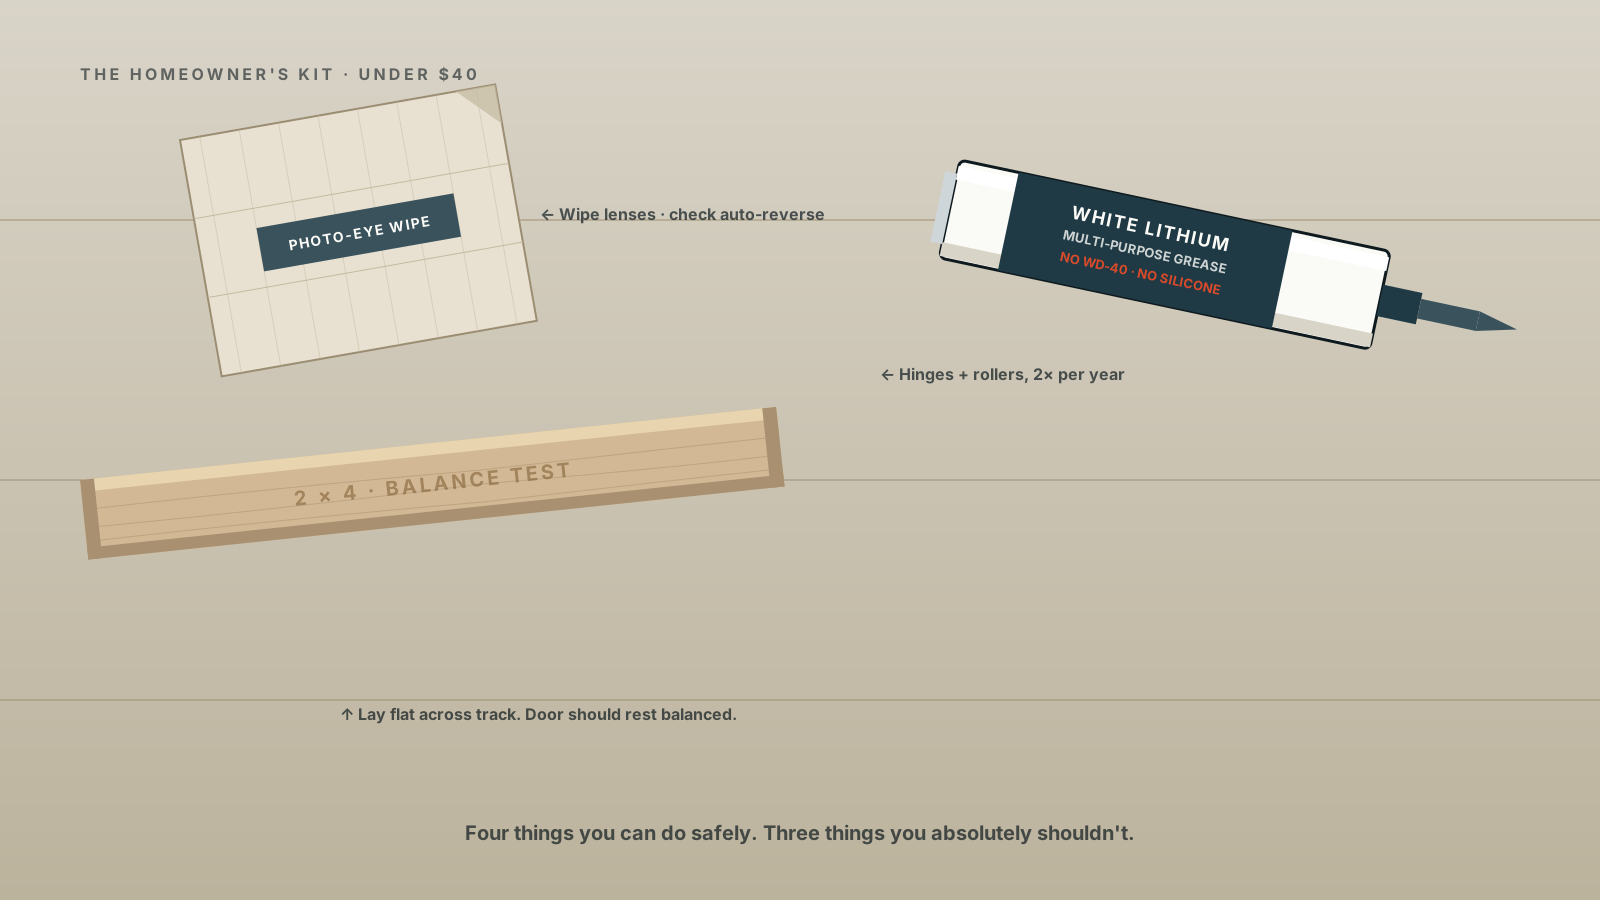
Use white lithium grease or silicone spray. Don't use WD-40 (it's a degreaser, not a lubricant — it strips protective oils). Apply a thin coating to each hinge pivot point, each roller bearing where it meets the track stem, and lightly along the spring coil. Wipe excess.
Don't lube the tracks themselves. The tracks should stay dry and clean — the rollers run inside them on bearings, and lube just attracts grit. Wipe the tracks down with a dry rag.
Frequency: twice a year is plenty. Once before winter, once in spring.
2. Run a balance test
Pull the red emergency-release cord on the opener. Manually lift the door to about 4 feet. Let go.
- If the door stays roughly in place (slight drift OK): balance is good.
- If it drops fast or shoots up: balance is off, the spring tension needs adjusting. That's not a DIY job. Call us.
This is the single most valuable 30 seconds you can spend on garage door maintenance. It tells you whether your spring is still doing its job before the spring tells you by snapping at 6:47 a.m. on a Tuesday.
3. Clean the photo-eye sensors
The two small sensors near the floor on each side of the door (one with a light) keep the door from closing on anything in its path. A dirty lens makes the door behave erratically — reversing for no reason, refusing to close.
Wipe each lens with a soft cloth. If alignment looks off (one sensor pointing at the floor, one at the ceiling), nudge them gently until the small indicator light goes solid green or red.
4. Test the auto-reverse
UL 325 requires every opener built after 1993 to auto-reverse on contact. To test: place a 2x4 flat on the ground in the door's path, hit the close button. The door should touch the wood and reverse within two seconds.
If it doesn't, the opener's force adjustment is wrong (potentially dangerous, especially with kids or pets in the house). The fix is usually a small knob or dip-switch adjustment on the opener motor — owner's manual will show you. If the manual scares you, leave it for a tech.
The 3 things you should never do yourself
1. Wind, unwind, or replace a torsion spring
This is the single biggest cause of garage door DIY injuries. Industry data shows 20,000 to 30,000 garage-door-related emergency-room visits per year in North America historically — most from spring incidents. The price difference between DIY and professional spring replacement is not worth a broken wrist or a missing finger. Call us.
2. Replace cables under load
Cables run from the bottom of the door, around the drum at each end of the torsion shaft, holding the door's full weight. Replacing them with the door in place and the spring wound up requires releasing the cable while supporting the door manually — same hazard as the spring. Cables that fail without warning cause door drop, which is exactly the scenario safety cables (on extension setups) exist to prevent.
3. Stand on a ladder under a stuck door to "see what's wrong"
If the door is stuck partway up and you don't know why, the spring may have weakened to the point where it could let go entirely. Standing under a half-open door means the door is overhead. If the spring gives up while you're under it, the door can drop in 80 milliseconds. Get out from under it. Lower it slowly if you can; leave it where it is if you can't.
What you can pay attention to between professional visits
- Sound. Healthy doors are quiet. New clicking, scraping, or popping noises = stress somewhere.
- Cable look. Open the door halfway, look at the cables from a safe angle. Fraying or rust spots = call.
- Bottom-panel seal. If you see daylight along the bottom, the seal is dry-rotted. Easy to replace, not our job.
- Tracks. If they're dented, bent, or visibly out of plumb, the door will struggle. We can adjust on a spring visit.
- The numbers. If your springs are over 7 years old in a normal-use home, you're in failure window. Book a balance test or just replace proactively.
Tools worth owning
- White lithium grease (or silicone spray for coastal homes — see the coastal post).
- Soft cloth for photo-eyes.
- 2x4 scrap for the auto-reverse test.
- A flashlight.
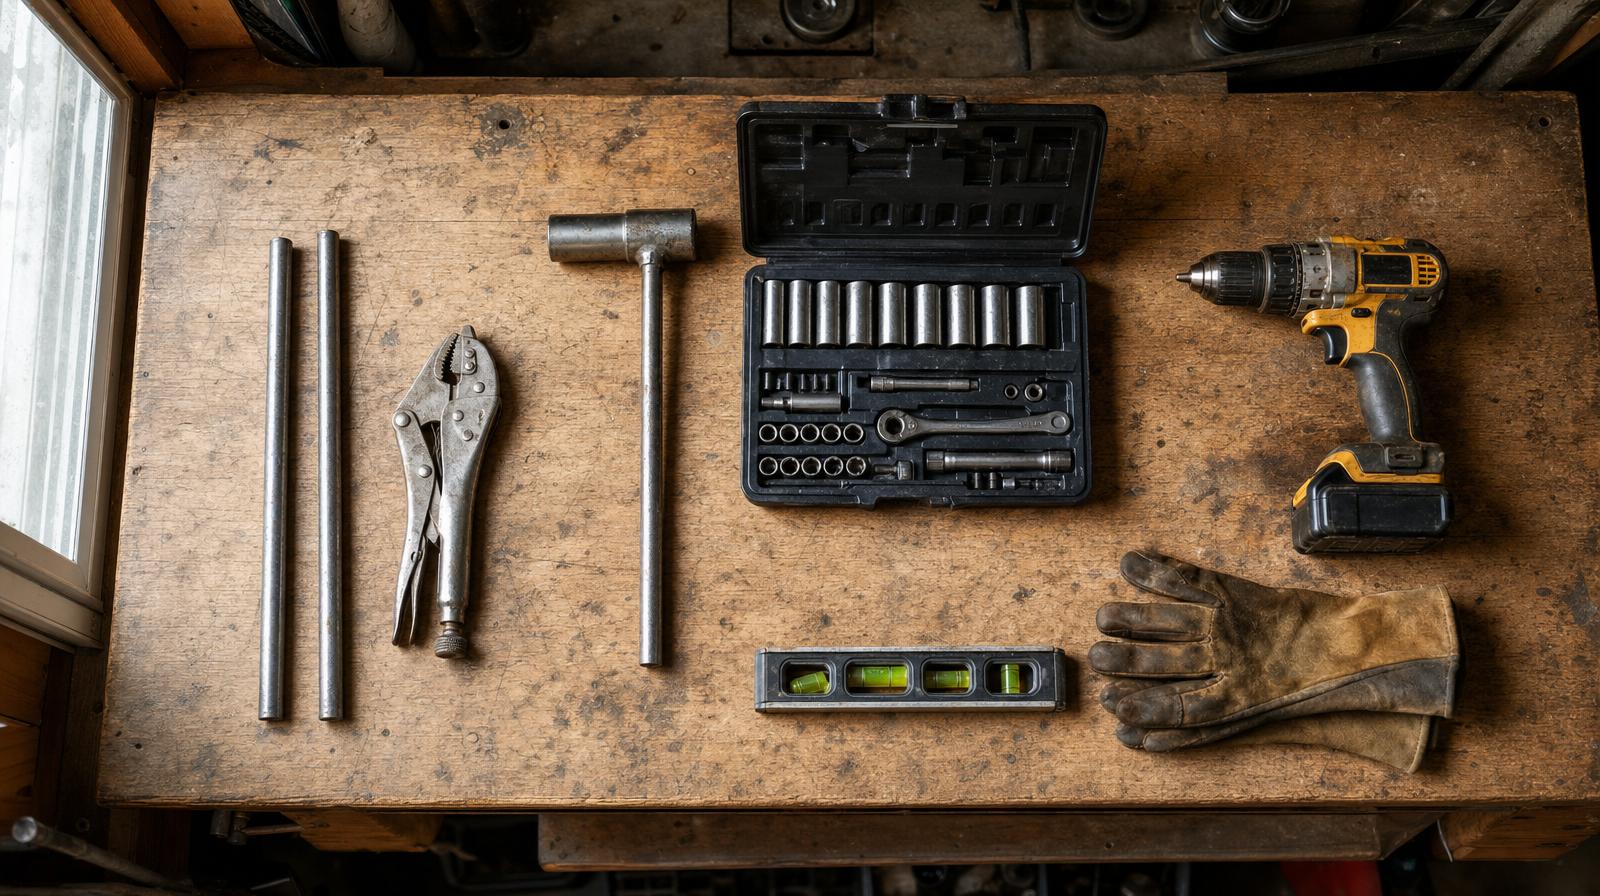
That's it. You don't need spring winding bars. If you've been considering buying winding bars, please re-read the DANGER block.
That's the part we do. Three flat-rate tiers, ~12 minutes from your door.
Call (778) 800-0769